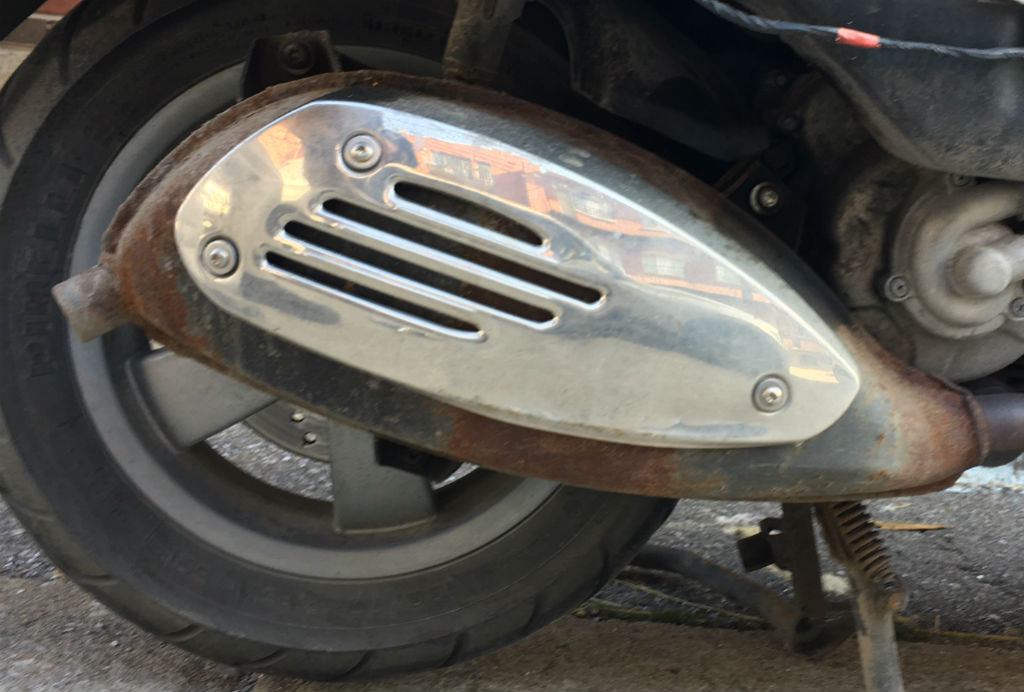
Decade old rusted Vespa muffler and shield cover are Vesparized
One of the easiest and low cost way to improve the appearance of a mature Vespa, is to refurbish the old often road beaten scooter muffler and shield cover into a sleek dark modern finish The muffler and shield cover take up a significant amount of ‘real-estate’ on the Vespa scooter. Therefore an upgrade or refurbish of the muffler will have a noticeable impact on the complete appearance of your ride.
This feature dose not include the removal or instalation of the muffler, it focuses on the refurbishing of the muffler and shield cover.
Tools you will need:
- Torx 25 Screw Driver, for the three screws which hold the shield cover.
- Metal sandpaper, Grit 320 or 400 (Regular sandpaper can be used, but not for the wet sanding. The water removes dirt and particles minimizing the possibility unwanted scratches,)
- High heat resistant primer.
- High heat resistant spray paint in the color and finish of your choice. For this project we used flat black for the muffler and glossy black for the shield cover. For this project we used Rust-Oleum® Automotive High Heat Spray primer and paint.
As with all painting projects preparation and cleanliness cannot be overlooked.
Always wear the appropriate safety gear and follow the manufacturers instructions on how to use the products. Always paint in a well ventilated area.
The original decade old rusted muffler and shield cover.
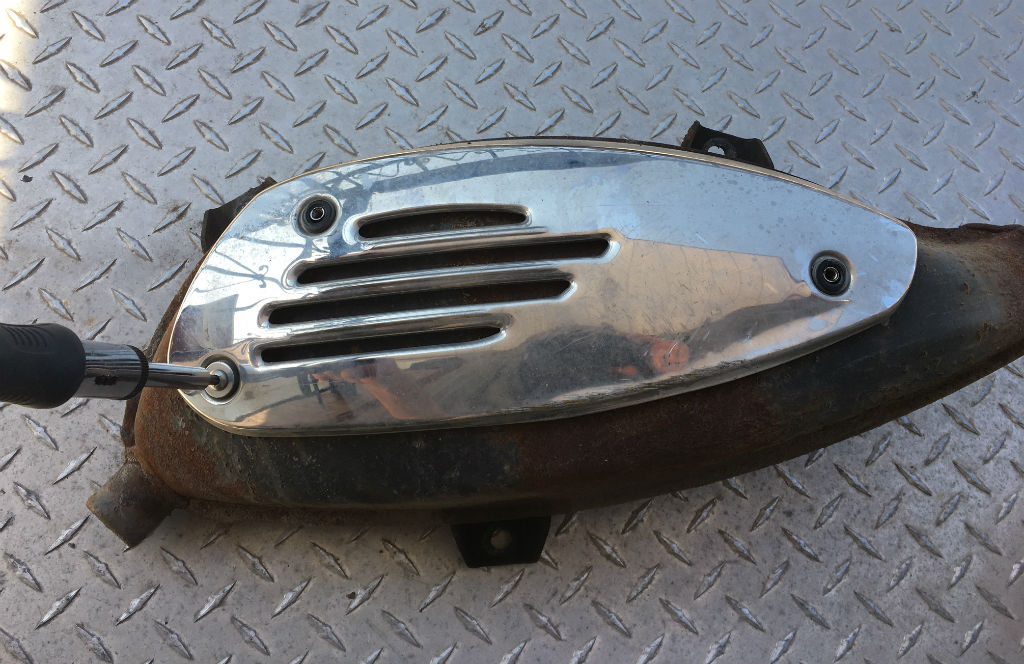
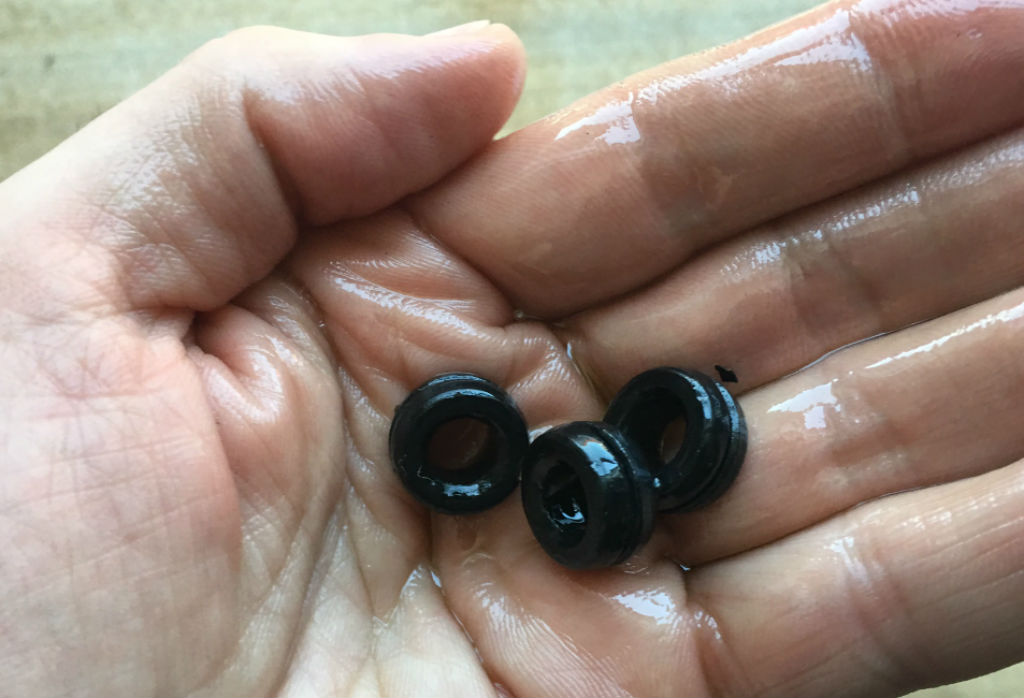
1- Remove the three screws and washers supporting the muffler shield cover. Pull the shield cover off the muffler pan and remove the three rubber rings from the shield cover.
2- Clean and oil the rubber grommets.
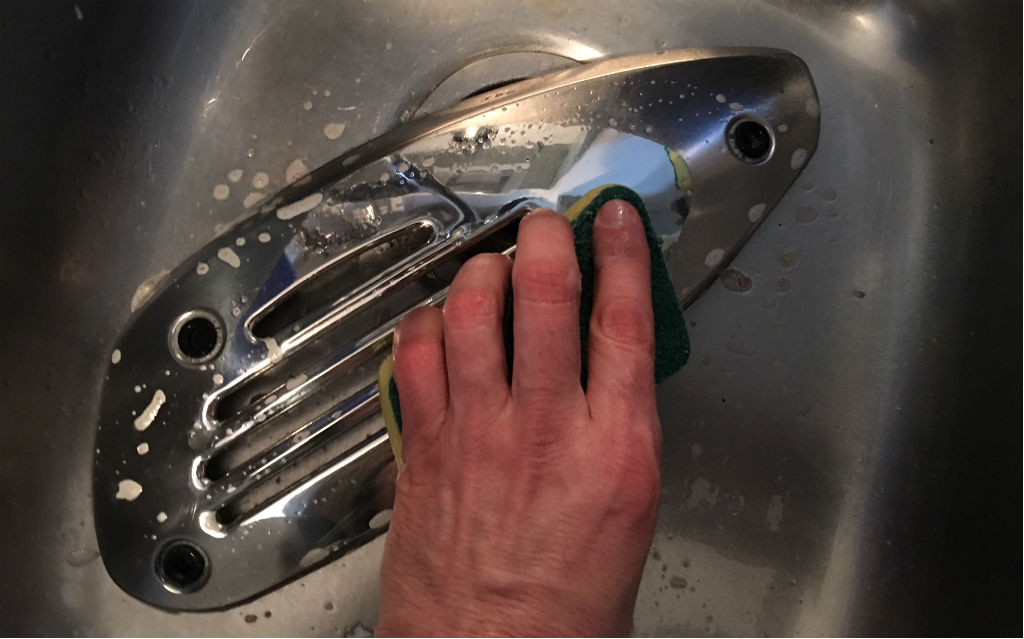
3- Was the shield cover using dishwasher soap and towel dry.
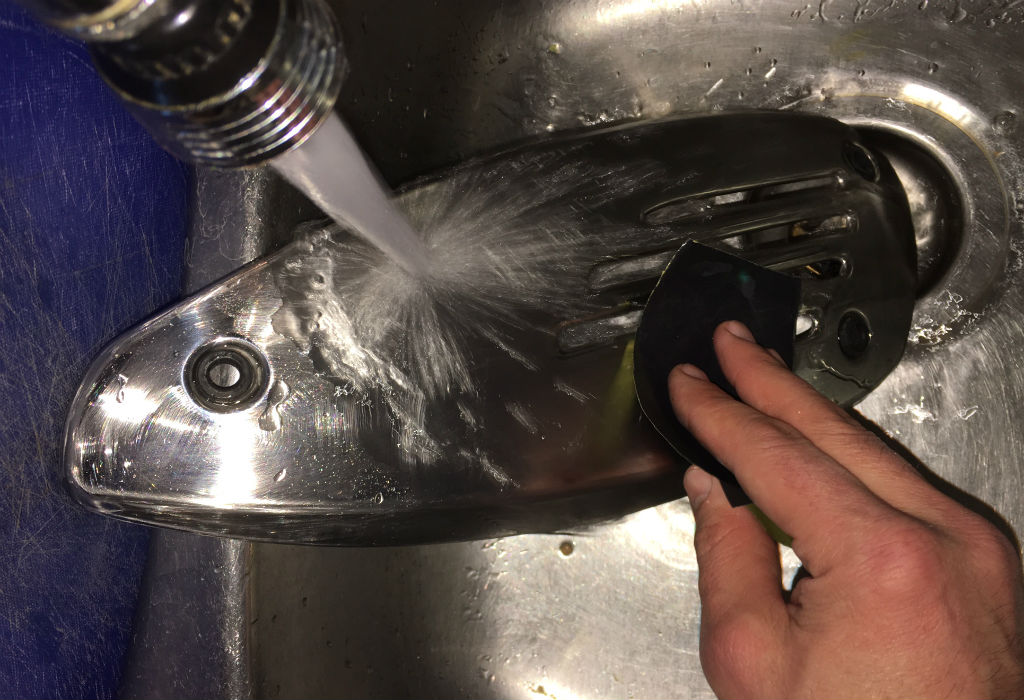
4- Lightly sand the glossy surface of the shield cover using sandpaper to allow for better adhesion of the paint. If you prefer you can wet sand the shield cover.
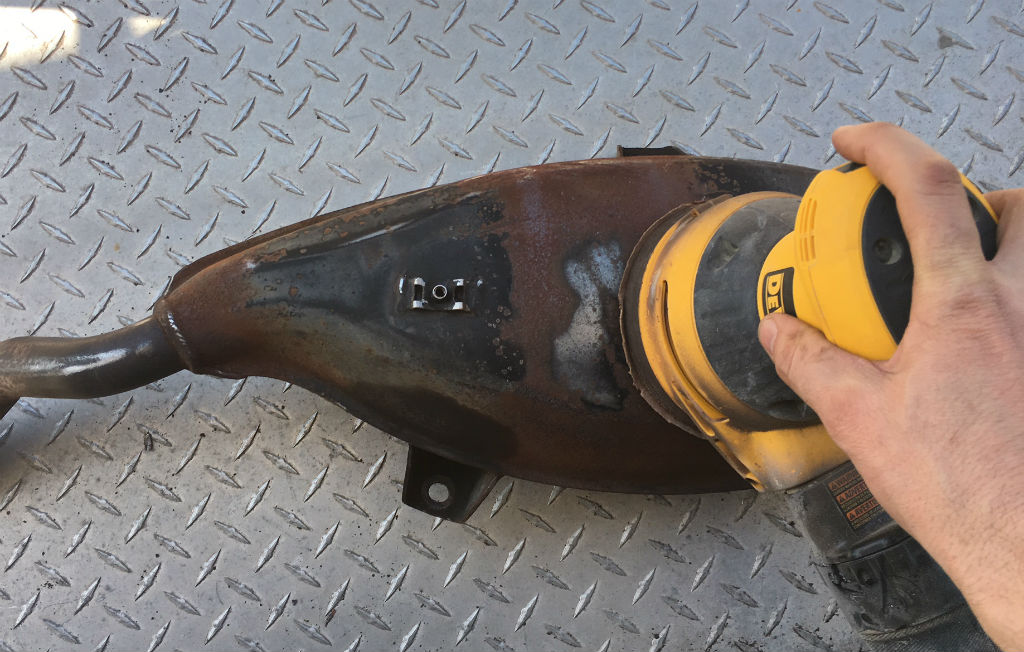
5- Remove loose paint and rust with a wire brush, then sand the muffler to remove any corroded area. Clean with soap and water, rinse and let dry.
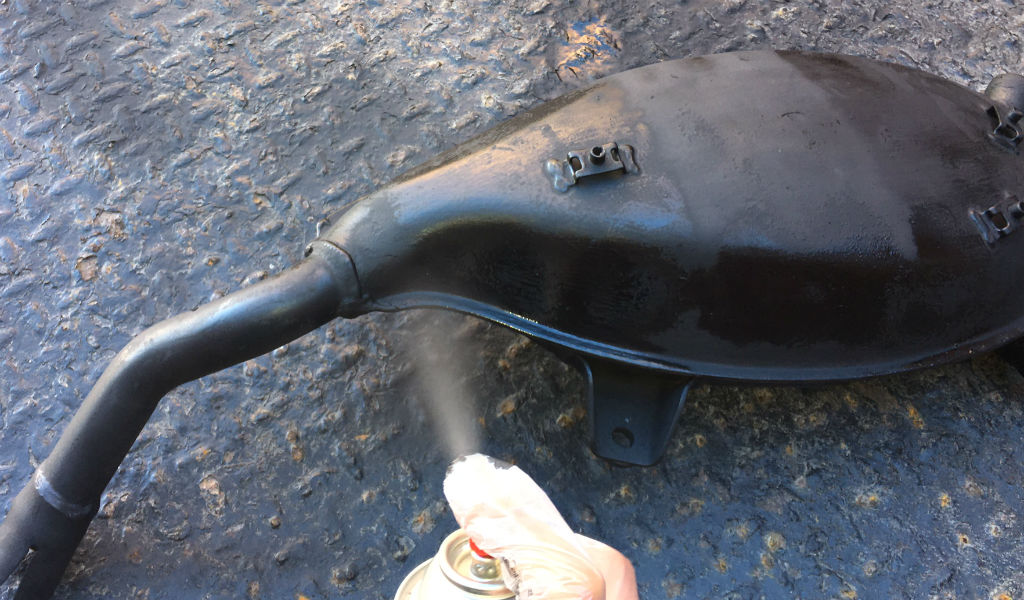
6- Once the muffler has dried, outdoors or in a well-ventilated area such as an open garage, apply one to two coats of a high heat primer for added corrosion protection and superior adhesion. Following the manufacture instructions apply two to three light coats of the high heat flat finish spray paint to both sides of the muffler. Allow to dry properly and repeat at least once.
Keep the spray can the same distance from the surface (approximately 12 inches) using a steady back-and-forth motion, slightly overlapping each stroke. To avoid streaks or the paint running, remember to keep the can in motion while spraying.
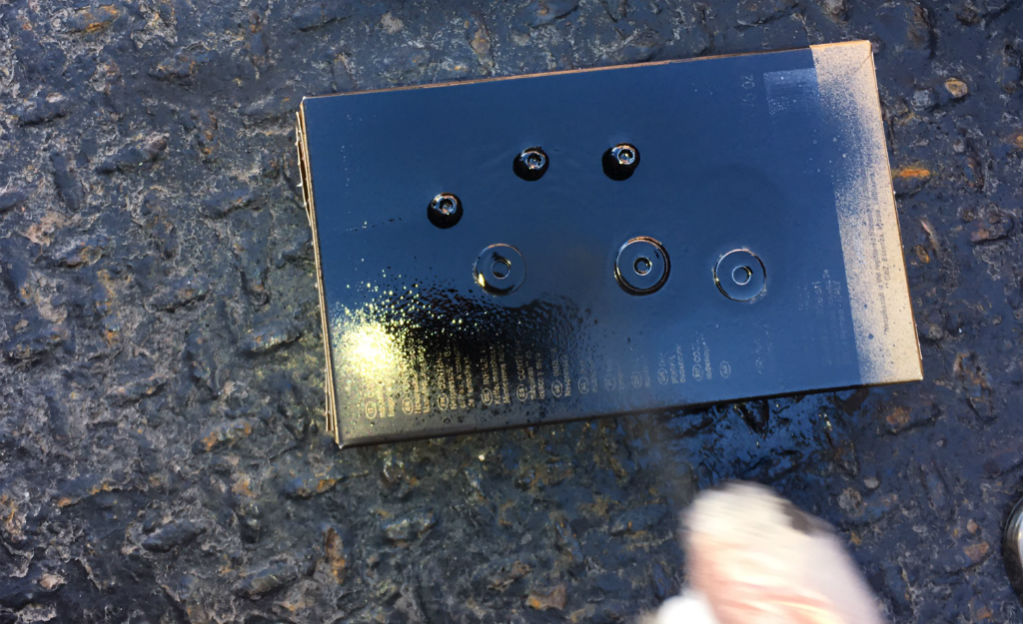
7- After priming use the glossy black paint, follow the manufactures instructions and paint the screw, washers and shield cover. Allow to dry properly and repeat at least once. To support the screws upright, push them through a cardboard box or Styrofoam cup. To avoid streaks or the paint running on the muffler shield cover, remember to keep the can in motion while spraying
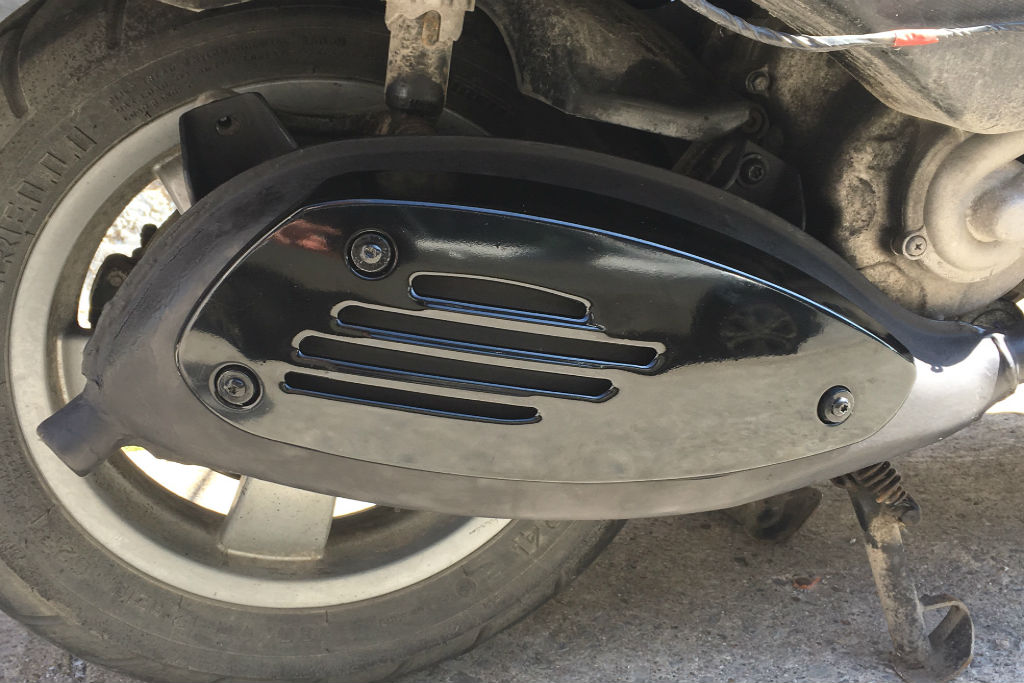
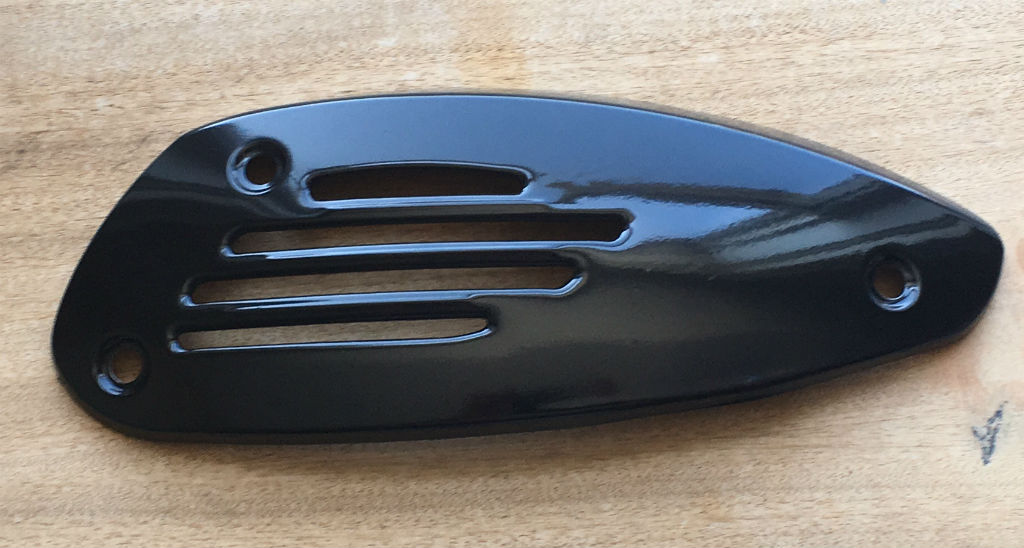
8- The muffler shield cover was painted using heat resistant primer and glossy black spray paint.
8- Once completely dried, slip the shield cover into the three, place the washers and using the painted glossy black screws tighten. Image shows muffler mounted on the scooter. Optional, the muffler support bolts and washers, top right, were also painted flat black. The top left bolt and washer was removed for a third coat of paint.
Curing Process:
Follow the Manufacture instructions. Unless you have an oven dedicated exclusively for curing, you will need to cure the paint on the bike by following the three easy steps below:
- Run vehicle at idle for 10 minutes then allow 20 minutes to cool.
- Run vehicle at idle for 20 minutes then let cool for 20 minutes.
- Run vehicle at normal operating conditions for 30 minutes then allow vehicle to cool.