Painting the Unpainted A Cosmetic Upgrade
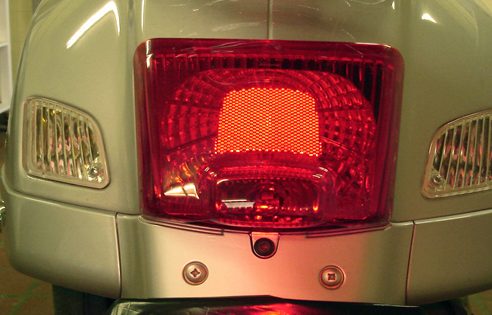
Two thirds of the project completed. The top screw remains unpaintedndemonstrating the cosmetic improvement of the two painted screws below.
Given how much Vespas cost, you’d expect them to be shipped with fully matching body hardware.
Vespas arrive from their manufacturer, Piaggio, with their rear fender screws left unpainted. This isn’t so clear from a distance, but when seeing the scooter from close up, the unpainted screws makes it seem like it is unfinished or incomplete. We therefore decided to paint the screws ourselves to match the scooter’s color closely, so that it looks like the finished article.
To give the scooter a more detailed finish, we painted the screws located below the tail light on the rear fender. Since the results give the Vespa GTS a much more complete look and feel, we decided to share the results with our readers. Given how much Vespas cost, you’d expect them to be shipped with fully matching body hardware. Until Piaggio decides to completely finish their bikes before shipping them for sale, we’ll have to be content with finishing off the job ourselves.
Painting the Unpainted, A Cosmetic Upgrade Project
Using a philips (star) screwdriver remove the three screws, be careful the top screen holds the rear brake light. Before painting the screws lightly sand the head lightly using a fine grade sandpaper, a primer is optional. When possible use a metal rust paint which offers superior rust inhibition and is specially formulated to penetrate and bind to metal.
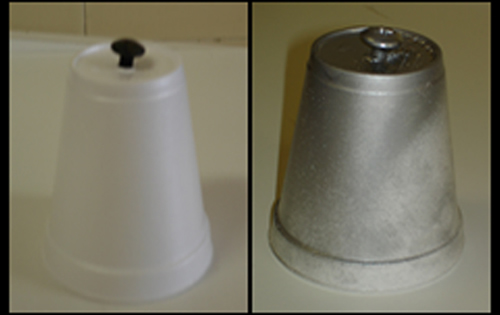
When painting the screws a Styrofoam cup was used to support the screws.
Project completed with the three screws supporting the rear tail fender and brake light painted to match the Vespa scooters paint color.

For more information and to ask questions regarding this project or another project visit the ‘Painting the Unpainted’ post found at the iVespa forum.


